Email Signatures
Email Signatures gives your organization one managed set of sign-offs for your emails. An email doesn't copy a signature into its body. It references it. So when a title changes, a phone number moves, or legal wants a new line under every sign-off, you edit the signature once and every email that uses it picks up the change.
Signatures are written in a rich-text editor and can include personalized fields. That's what lets one signature sign each email as the right person: use the contact owner's name, title, phone, and email address, and each recipient sees a sign-off from their own owner.
You use a signature by adding the Signature element to an email in the Email Builder and picking the signature it should show.
Email Signatures requires the Email Signatures permission, found in the Administrative permission category. Without it, Email Signatures doesn't appear in your Account Settings.
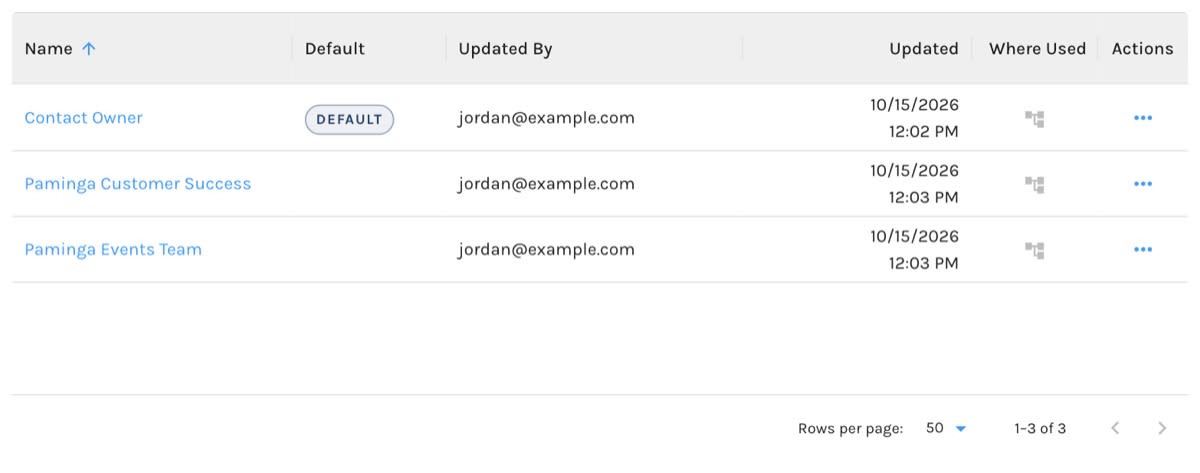
Email Signatures in Account Settings:
The Contact Owner Signature
Your account starts with a signature named Contact Owner, which is also your default. It's created for you the first time you open Email Signatures, so you have a working sign-off before you write anything.
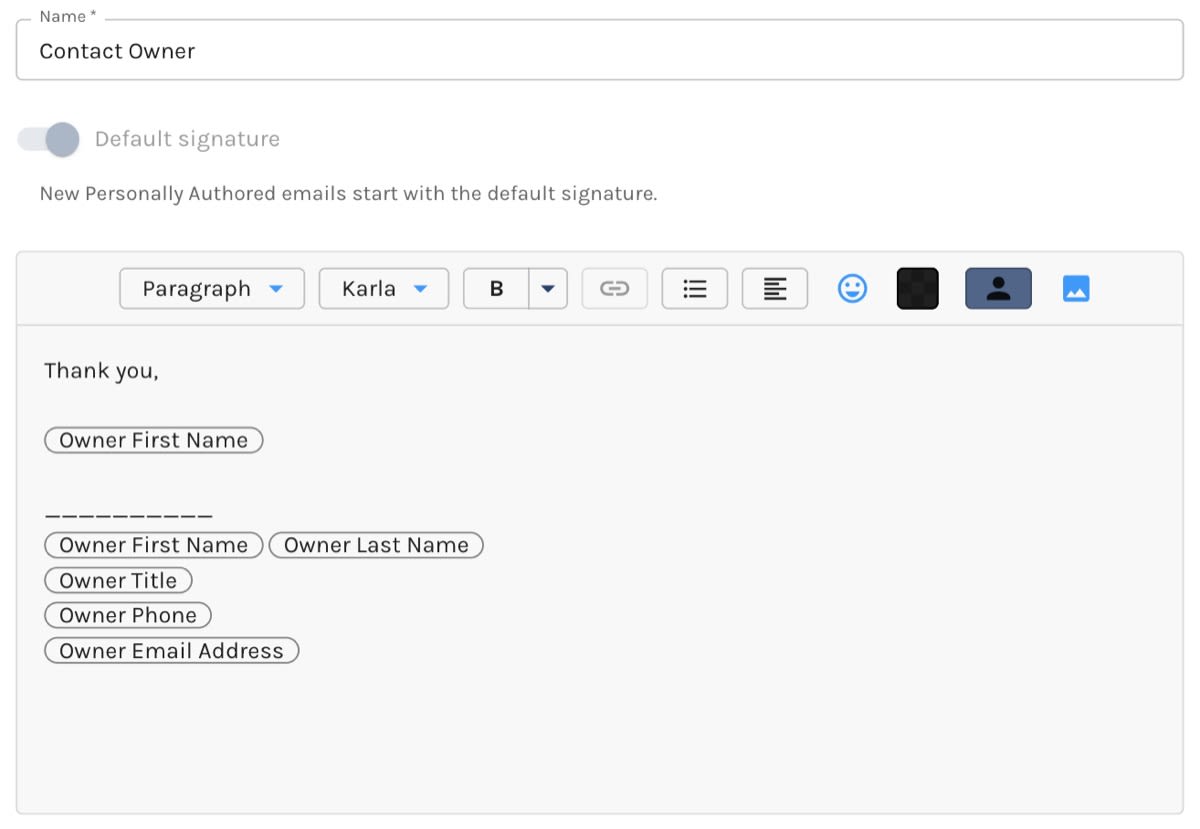
Contact Owner reads:
Thank you,

[Owner First Name]

__________
[Owner First Name] [Owner Last Name]
[Owner Title]
[Owner Phone]
[Owner Email Address]
Each bracketed value is a personalized field that resolves to the recipient's contact owner when the email sends. Each one has an empty default value, so a contact with no owner gets a blank line rather than a stray word.
Edit it, rename it, or replace it as the default. It's yours.
Create a Signature
- Go to Account Settings › Email Signatures.
- Click Add Email Signature.
- Enter a Name. Names must be unique across your account; it's how authors pick the signature in the Email Builder.
- Write your signature in the editor.
- Turn on Default signature if this should become your account's default.
- Click Save.
Writing the Signature
The editor is the same rich-text editor used for email copy, shown at the width your emails render, so line breaks land where they will in the inbox. Format text, add links, and insert personalized fields from the toolbar.
Signatures don't carry a Brand Kit of their own. A signature is shared across many emails, so it takes its typography from the Brand Kit of whichever email it appears in. Write the content; let each email style it.
Editing a Signature:
The Default Signature
Your account always has exactly one default signature. It's marked with a Default chip in the grid.
The default is what a new Signature element starts with when an author drops it into an email. Authors can pick a different signature on any individual element.
To change the default, either:
- Click Set as the default Email Signature (the star) in a signature's row actions, or
- Open the signature and turn on Default signature.
Either way, the previous default stops being the default. Because there's always a default, you can't switch it off on the signature that currently holds it. Make another signature the default instead.
Where Used
Before you edit a signature, it's worth knowing what you're about to change. The Where Used column shows which emails currently use each signature. Click the icon to see the list. A greyed-out icon means nothing uses that signature right now.
"Currently" means an email's latest revision or its latest published revision. An older revision that once used the signature doesn't count, because nothing sends from it.
Edit a Signature
Click a signature's name, or use Edit in its row actions. Save your changes and every email that uses the signature renders with the new version the next time it sends. You don't need to republish those emails.
That's the point of central management, and it's also why the grid puts Where Used up front: an edit here reaches every email on that list.
Delete a Signature
Paminga won't let you delete a signature that would leave an email without its sign-off. The delete action is disabled when:
- The signature is the default. Make another signature the default first.
- Any email uses it. Open Where Used, remove the signature from those emails, then delete it.
Hover the disabled delete icon and Paminga tells you which of the two applies.
Filter and Sort
Filter the grid on Name, Default, Updated By, Updated, and Created. The Created column is hidden by default; you can still filter on it.