Snowflake
Paminga can push various data to your existing Snowflake instance.
To get set up, you'll need to create an OAuth integration in your Snowflake account.
Create OAuth Integration
Create your Paminga integration in your Snowflake account.
USE ROLE ACCOUNTADMIN;

# Create the OAuth integration.
CREATE SECURITY INTEGRATION PAMINGA_PROD
  TYPE = OAUTH
  OAUTH_CLIENT = CUSTOM
  OAUTH_CLIENT_TYPE = CONFIDENTIAL
  OAUTH_REDIRECT_URI = 'https://api.paminga.com/api/snowflake/callback'
  ENABLED = TRUE;

# Optional: Run this if you Snowflake admins should be allowed to use the OAuth client.
ALTER ACCOUNT SET OAUTH_ADD_PRIVILEGED_ROLES_TO_BLOCKED_LIST = FALSE;

# This query will return the client ID and client secret that you'll need to enter in Paminga.
SELECT SYSTEM$SHOW_OAUTH_CLIENT_SECRETS('PAMINGA_PROD');
Enter Integration Credentials in Paminga & Connect
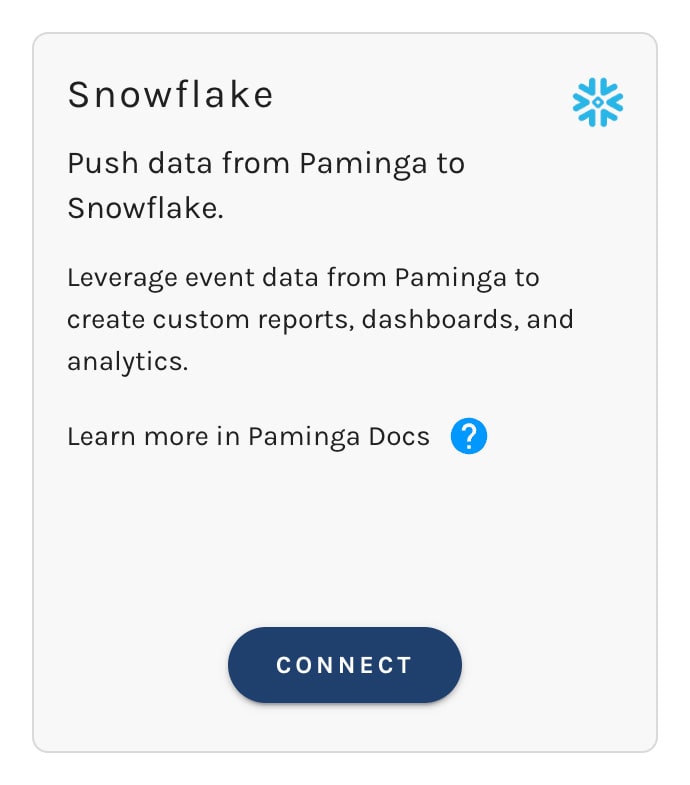
Navigate to Integrations in Paminga. Find Snowflake and click "Connect."
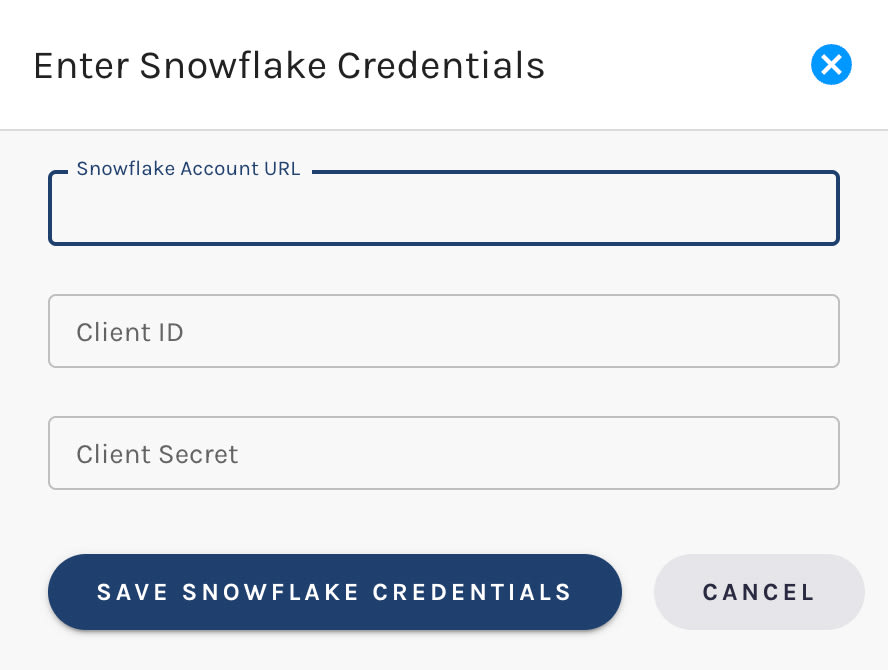
Enter Credentials
A form appears where you will enter:
- Your Snowflake Account URL
- Client ID
- Client Secret
Complete the OAuth Flow
Upon saving your credentials, Paminga will redirect you to the Snowflake OAuth flow.
You'll be asked to grant Paminga access to your Snowflake account.
Data Push
Paminga can push email events, page views, marketing touches, and other events to Snowflake on a set schedule.
Paminga can create tables in Snowflake to store this data, or you can use an existing table.
Contact your Customer Success Manager to discuss your organization's needs.