Zoom
Paminga's Zoom integration offers a complete solution to drive registration, attendance, and engagement around your digital events.
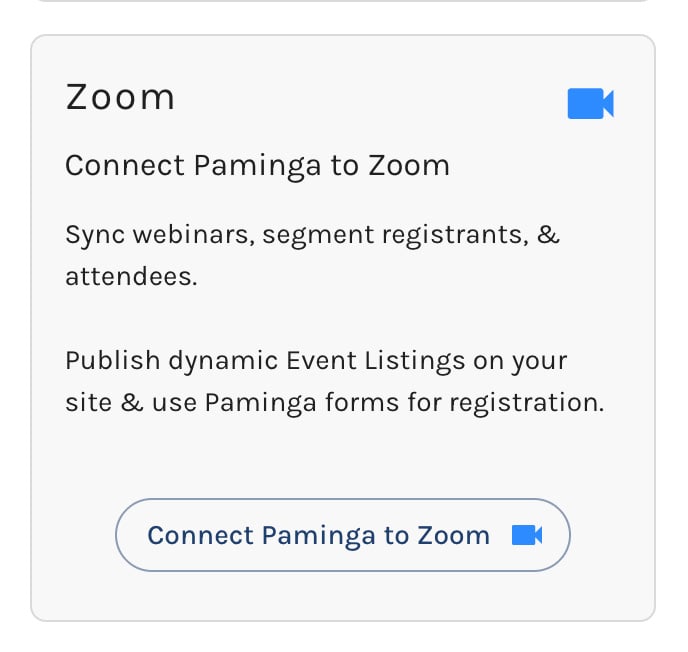
Connect Paminga to Zoom
Find the Zoom connection on the Integrations page in Paminga and click "Connect Paminga to Zoom."
Connect Paminga to Zoom
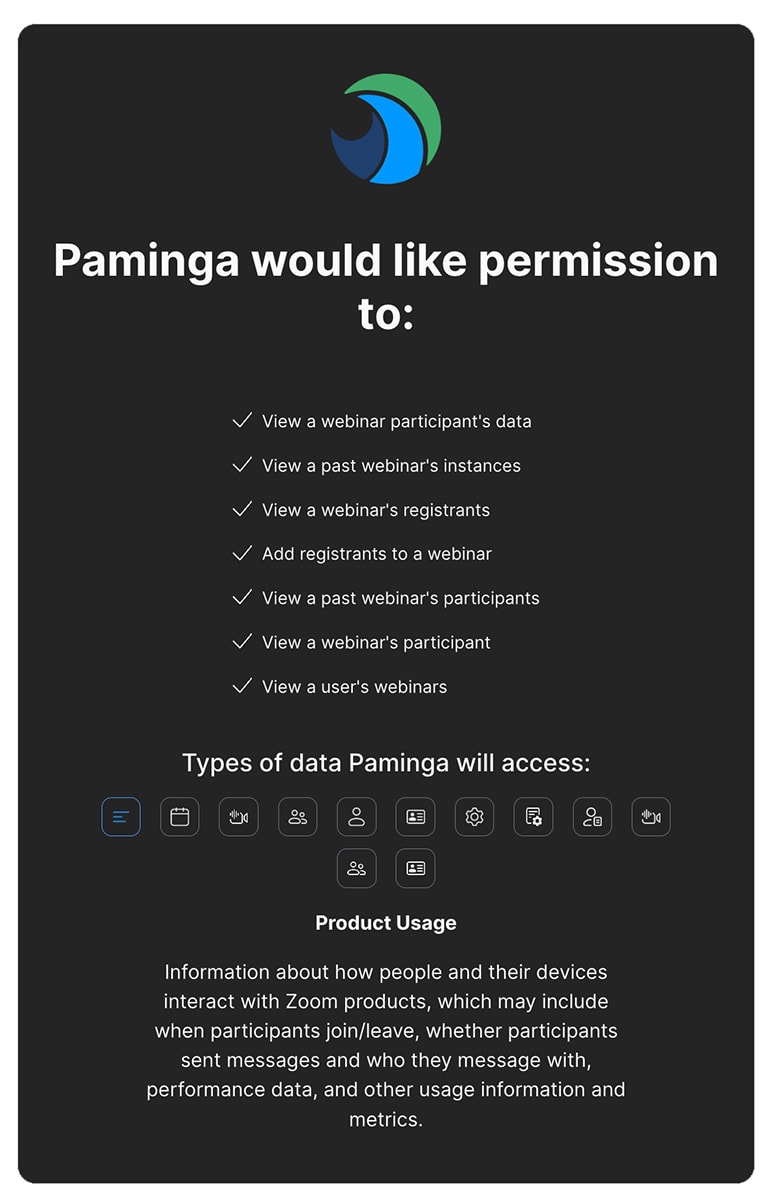
You'll be presented with Zoom's authorization screen. Review the capabilities Paminga requires.
If you're happy with the settings, click "Agree".
Zoom Authorization
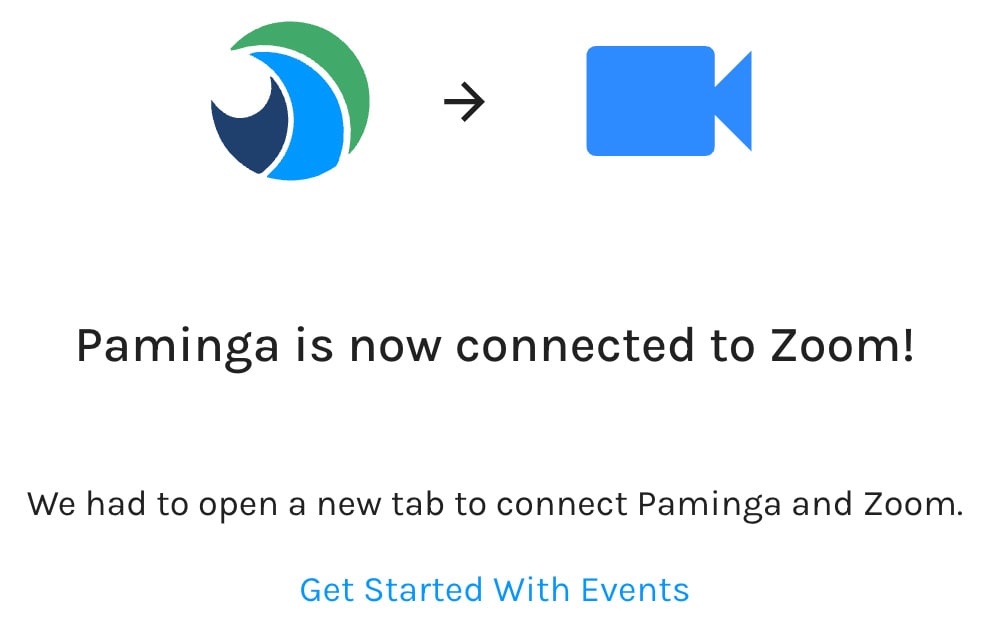
You'll see this confirmation screen upon successful connection.
Zoom Connection Successful
Disconnecting Paminga from Zoom
Simply click the "Disconnect Zoom" button on the Integrations page in Paminga.
What Happens When You Disconnect?
When you disconnect Paminga from Zoom:
- Existing Events: All previously synced Zoom webinars will remain in Paminga as Events, but they will no longer sync with Zoom. Any changes made in Zoom after disconnection will not be reflected in Paminga.
- Historical Data: All historical registrant and attendee data is retained in Paminga. You can continue to view, segment, and export this data.
- Future Events: New Zoom webinars will not be synced into Paminga after disconnection.
- Zoom Account: Disconnecting from Paminga does not affect your Zoom account or webinars. All data remains intact in Zoom.
Reconnecting
You can reconnect Paminga to Zoom at any time by following the connection steps above. Upon reconnection, Paminga will resume syncing your Zoom webinars as Events.
Zoom Webinars Become "Events" in Paminga
Create your webinars directly in Zoom. They will be synced into Paminga automatically as "Events".
Finder Integration
Organize your Events in Paminga's Finder.
Create a folder that will contain all assets related to your event.
Edit your event and add it to your newly created folder.
Add Your Event to a Finder Folder

Personalization via Event Tokens
Events that are housed in Paminga's Finder automatically expose their properties as Folder Tokens.
Don't type your event's name into an email or landing page. Rather, use the folder token for the event name.
Then, if you edit the event's name in the future, all of your emails and landing pages are updated automatically!
The same applies for other properties like the event's registration URL, start and end date/time, etc.
Invite Contacts to Register
Paminga offers a variety of ways to invite contacts to register for your events.
Email Drip Series
Open the Finder and right-click on the folder that contains your event. Create a new Drip Series in this folder.
- Create emails that urge contacts to register for your events
- Create each of these emails in the Finder folder that contains your event. Even better, create a child folder for your invitation emails
- Be sure to use folder tokens to inject the event's properties (name, date/time, registration URL, etc.) into your emails. That way, if any of your event's details change, your emails are updated automatically
- Send those emails via a Drip Series with whatever cadence you choose
- Create the perfect audience for your Drip Series with Paminga's Segment Builder
- Add a Goal that will remove contacts from the Drip Series when contacts register, and add them to your "reminder" Drip Series automatically
CTAs on Your Website
Create one or more CTAs to promote your events on your website.
Open the Finder and right-click on the folder that contains your event. Create your new CTA in this folder.
Don't Miss Event Listings
Be sure to check out Event Listings: dynamically generated listings of upcoming events that update automatically as events are added to Paminga.
- Event Listings can be added to any CTA or Landing Page
- Event Listings can filter events by category, date, and more – create and publish different Event Listings by topic, geography, etc.
Event Listing Element

Social Posts on LinkedIn, Facebook, & Instagram
Schedule social posts that drive prospects to your event registration landing page.
Create an Event Registration Form
Open the Finder and right-click on the folder that contains your event. Create your form in this folder.
Add an Event Registration element to you new form.
The Event Registration element can:
- Automatically register the contact for a specific event of your choosing
- Allow the contact to select an event to register for
Register for a Particular Event
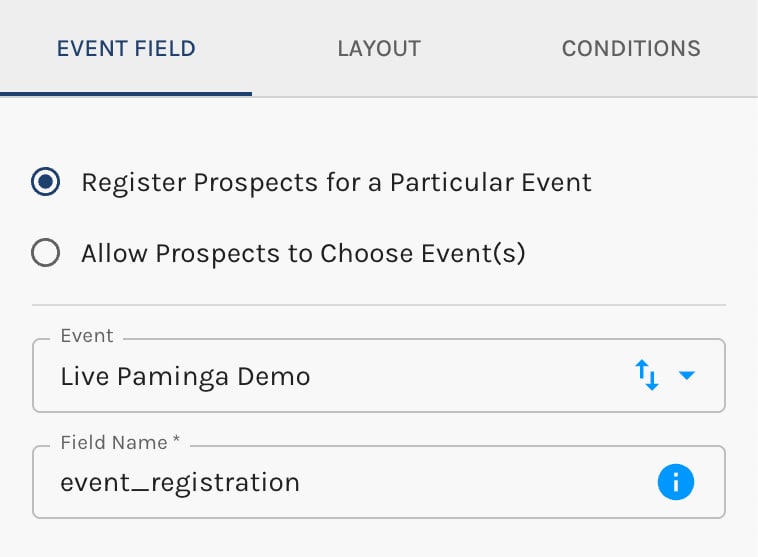
Allow Propects to Choose Events
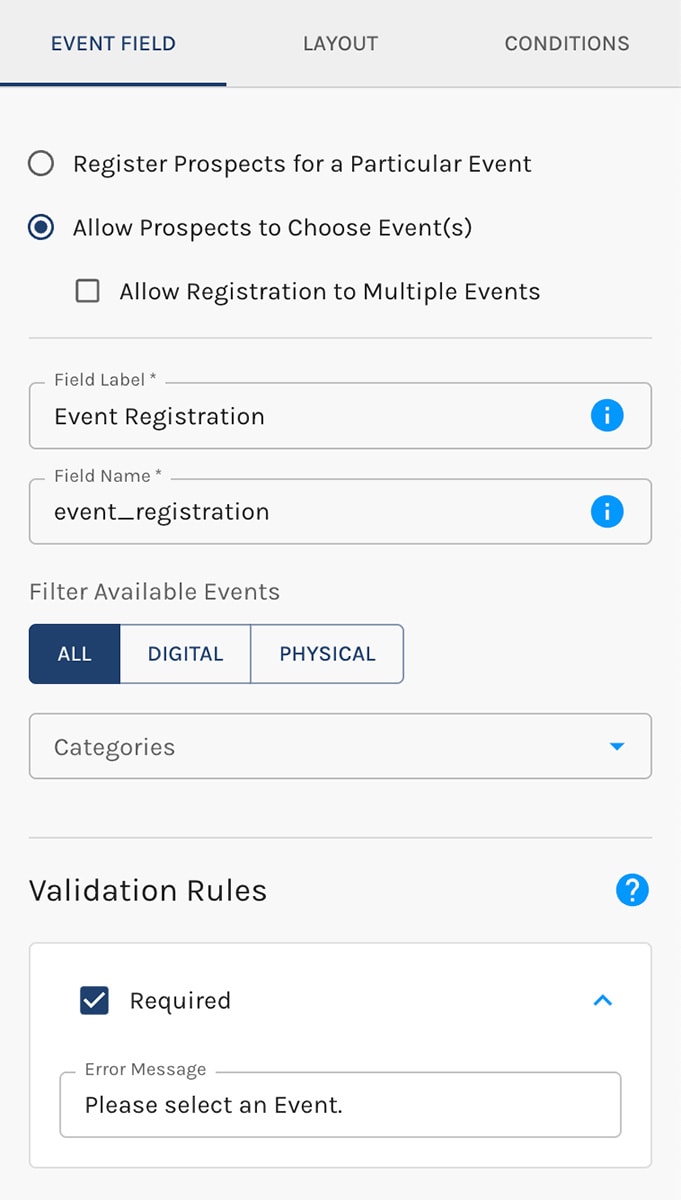
If you've chosen a specific event, the event registration field is hidden – not visible to your contact.
If you opt to allow the contact to select an event, the event registration field presents as a searchable drop-down.
Publish Your Form In Any Number of Locations:
- Embed your form into any web page you choose (as a
<div>, not an iframe) - Add your form to any Paminga Landing Page
- Add your form to any Paminga CTA (dynamic, personalized website section, banner, sidebar, or popup)
Upon Form Submission
The contact will be recorded as a registrant in both Paminga and Zoom.
From this moment forward, the contact will qualify for the "Did Register for the event named [This Event]" condition everywhere Paminga's Segment Builder appears.
Viewing Registrants
Double-click on your event in the Finder. This takes you to the "Event Details" screen where you can edit the event.
Notice there are three tabs at the upper left on this page:
- Details
- Registrants: Click this tab to view all registrants for your event. You may also choose to export them
- Attendees
Create an Event Registration Landing Page
Open the Finder and right-click on the folder that contains your event. Create your landing page in this folder.
Add your event registration form to your landing page.
Be sure to use tokens to inject the event's properties (name, date/time, registration URL, etc.) into your landing page. That way, if any of your event's details change, your landing page is updated automatically.
Event Registration Confirmation
Open the Finder and right-click on the folder that contains your event. Create an email that confirms the contact's registration for your event.
Be sure to use tokens to inject the event's properties (name, date/time, registration URL, etc.) into your email. That way, if any of your event's details change, your email is updated automatically.
Event Reminder Drip Series
Open the Finder and right-click on the folder that contains your event. Create a new Drip Series in this folder.
- Create emails that remind contacts that they've registered for an upcoming event
- Create each of these emails in the Finder folder that contains your event. Even better, create a child folder for your reminder emails
- Be sure to use tokens to inject the event's properties (name, date/time, registration URL, etc.) into your emails. That way, if any of your event's details change, your emails are updated automatically
- Create the Drip Series Audience based on contacts who have registered for your event (available as a segment condition)
- Send those emails via a Drip Series with whatever cadence you choose
When The Webinar Is Over
Paminga will sync all attendees from Zoom into Paminga automatically.
From this moment forward, the contact will qualify for the "Did Register for the event named [This Event]" condition everywhere Paminga's Segment Builder appears.
Viewing Attendees
Double-click on your event in the Finder. This takes you to the "Event Details" screen where you can edit the event.
Notice there are three tabs at the upper left on this page:
- Details
- Registrants
- Attendees: Click this tab to view all attendees for your event. You may also choose to export them
Thank Attendees
Open the Finder and right-click on the folder that contains your event. Create an email to thank attendees when the event is over.
Be sure to use tokens to inject the event's properties (name, date/time, registration URL, etc.) into your email. That way, if any of your event's details change, your email is updated automatically.
Registered But Did Not Attend
Open the Finder and right-click on the folder that contains your event. Create a "Sorry We Missed You" email to let contacts know just what they missed out on.
Be sure to use tokens to inject the event's properties (name, date/time, registration URL, etc.) into your email. That way, if any of your event's details change, your email is updated automatically.
Never Registered
How about an email for those who never registered?
Open the Finder and right-click on the folder that contains your event. Create a "See What You Missed" email to let contacts know just what they missed out on.
Be sure to use tokens to inject the event's properties (name, date/time, registration URL, etc.) into your email. That way, if any of your event's details change, your email is updated automatically.
Troubleshooting
Connection Issues
Problem: Unable to connect Paminga to Zoom or connection fails during authorization.
Solutions:
- Ensure you're logged into the correct Zoom account before clicking "Connect Paminga to Zoom"
- Check that your Zoom account has the necessary permissions to authorize third-party apps (contact your Zoom administrator if you're on a managed account)
- Clear your browser cache and cookies, then try connecting again
- Try using a different browser or incognito/private browsing mode
- If you see an error message, note the exact error text and contact Paminga support
Events Not Syncing
Problem: Zoom webinars are not appearing in Paminga as Events.
Solutions:
- Verify that the Zoom connection is active on your Integrations page
- Check that the webinar is published in Zoom (draft webinars may not sync)
- Allow up to 15 minutes for newly created Zoom webinars to sync to Paminga
- Try disconnecting and reconnecting the Zoom integration
- Ensure the webinar hasn't been deleted in Zoom
Registrations Not Syncing
Problem: Registrants from Paminga are not appearing in Zoom, or vice versa.
Solutions:
- Verify that the Event Registration element is properly configured in your form
- Check that the correct event is selected in the Event Registration element
- Allow up to 5 minutes for registration data to sync between systems
- Confirm the webinar has not reached its registration limit in Zoom
- Check that the webinar registration is still open in Zoom
Attendee Data Not Appearing
Problem: Attendees are not syncing from Zoom to Paminga after the webinar ends.
Solutions:
- Allow up to 30 minutes after the webinar ends for attendee data to sync
- Verify the Zoom connection is still active
- Check that the webinar has actually concluded (not just paused)
- Ensure the attendee data is available in your Zoom account
Authorization Expired
Problem: The Zoom integration stops working after some time.
Solutions:
- Zoom authorizations can expire due to security policies or password changes
- Simply disconnect and reconnect Paminga to Zoom to refresh the authorization
- This will not affect your historical data or existing Events
Frequently Asked Questions
What Zoom permissions does Paminga require?
Paminga requires the following Zoom permissions to provide full integration functionality:
- View webinars: To sync your Zoom webinars into Paminga as Events
- View and manage webinar registrants: To register Paminga contacts for Zoom webinars and sync registration data
- View webinar participants: To sync attendee data after webinars conclude
These permissions allow Paminga to provide seamless event marketing automation while keeping your data synchronized between both platforms.
How often do events sync from Zoom to Paminga?
- New webinars: Typically sync within 15 minutes of creation in Zoom
- Webinar updates: Changes to existing webinars sync within 15 minutes
- Registrations: Sync within 5 minutes of form submission
- Attendees: Sync within 30 minutes after the webinar ends
What happens if I cancel or delete a Zoom webinar?
If you cancel or delete a webinar in Zoom:
- The Event remains in Paminga with all historical data intact
- No new registrations can be created
- All past registrants and attendees remain accessible in Paminga
- You can manually update or delete the Event in Paminga if desired
What types of Zoom meetings are supported?
Paminga's integration is designed specifically for Zoom Webinars. Standard Zoom Meetings are not synced to Paminga. If you need to promote a Zoom Meeting, you can create a custom Event in Paminga and use Paminga's event marketing features independently.
Can I use Paminga to manage Zoom meeting recordings?
Currently, Paminga does not automatically sync or host Zoom recordings. However, you can:
- Add recording links to your post-event emails using Paminga's email builder
- Use folder tokens to dynamically insert recording URLs into follow-up content
- Create landing pages that feature your recording links
How is attendee data determined?
Zoom considers someone an "attendee" if they joined the webinar, even briefly. Paminga syncs this data directly from Zoom's attendee reports. The attendee duration and engagement metrics from Zoom are also available in Paminga.
What happens to my data if I disconnect Paminga from Zoom?
All historical data (Events, registrants, attendees) is permanently retained in Paminga even after disconnection. You can continue to segment, export, and market to these contacts. Only future synchronization will stop.
Can I connect multiple Zoom accounts?
Currently, Paminga supports one Zoom account connection per Paminga account. If you need to manage events from multiple Zoom accounts, consider consolidating your Zoom webinars into a single account or contact Paminga support to discuss enterprise solutions.
Does Paminga support Zoom's registration approval workflow?
If you enable registration approval in Zoom, registrants added through Paminga will follow Zoom's approval workflow. Paminga will sync the approved registrants back once they are approved in Zoom.
How do I unsubscribe contacts from event-related emails?
Contacts can unsubscribe from your marketing emails using the unsubscribe link included in all Paminga emails (required by law). Unsubscribed contacts will:
- No longer receive marketing emails from your Drip Series or bulk sends
- Still receive transactional emails (like registration confirmations) if configured
- Remain in your Paminga database with their registration and attendance history intact
You can manage subscription preferences in the contact's profile within Paminga.
Contact Support
Our support team is here to help you get the most out of your Zoom integration.
How to Reach Us
- Email: support@paminga.com. A ticket will be created and routed to the proper team member to assist you.
Support Hours
- Monday - Friday: 9:00 AM - 5:00 PM MT
- Weekend: Limited support for urgent issues
What to Expect
- First Response: We aim to respond to all support requests within 2 business hours
- Priority Support: Enterprise customers receive priority support with faster response times
- Issue Resolution: Complex technical issues may take 1-2 business days to resolve depending on the nature of the problem
Before Contacting Support
To help us assist you faster, please have the following information ready:
- A description of the issue you're experiencing
- Screenshots or error messages if applicable
- The approximate time the issue occurred
- Your Paminga account email address
- Whether the issue is affecting a specific event (include the event name if so)