Creating a CTA
To create a new CTA, hover Marketing Center in the top navigation bar, then Calls to Action, and click the "+" (plus) icon that appears.
Alternatively, navigate to Marketing Center > Calls to Action, then click the "Create a Call to Action" button.
Name Your New CTA
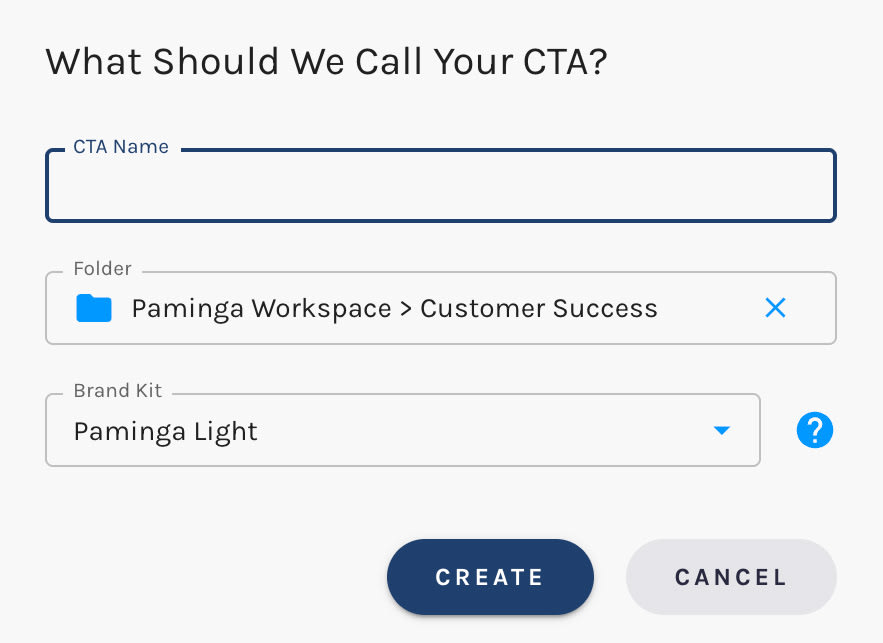
A popup will appear prompting you to name your new CTA.
Give your CTA a name and click "Create".
The same dialog lets you pick a folder and add Tags. Type a tag name and press Enter to add it; a name your account has not seen before becomes a new tag on the spot.
Creating a CTA
Choose a Brand Kit
Paminga's Brand Kits ensure your marketing assets (CTAs, Forms, Emails, & Landing Pages) are always on-brand.
Your default Brand Kit will be pre-selected for you, if applicable. Select the brand kit you wish you to use.
You may switch to another brand kit at any time in the future, so don't be afraid of commitment. 🙂
Default CTA Template
When you create your CTA, you will be taken into the CTA builder. Your new CTA will have some basic content by default.
Hover over your CTA to add Sections, Rows, and Elements.
We will be adding templates for various CTA types in the coming months.
CTA Settings
You'll find that "left control panel" has the "Settings" tab selected. Here you can edit basic properties of your CTA, including:
- CTA name
- Description (we recommend adding a description to add clarity for other users)
- Folder
- Tags. Tags save the moment you change them, independent of the builder's own save, and they drive the Tags column and filter on your CTAs grid
CTA Settings: