Create a New Landing Page
To create a new landing page, hover Marketing Center in the top navigation bar, then Landing Pages, then click the "+" (plus) icon that appears.
Alternatively, go to Marketing Center > Landing Pages and click the "Create a Landing Page" button.
Name Your New Landing Page
A dialog will appear prompting you for a few essentials before the builder opens.
Create a New Landing Page:
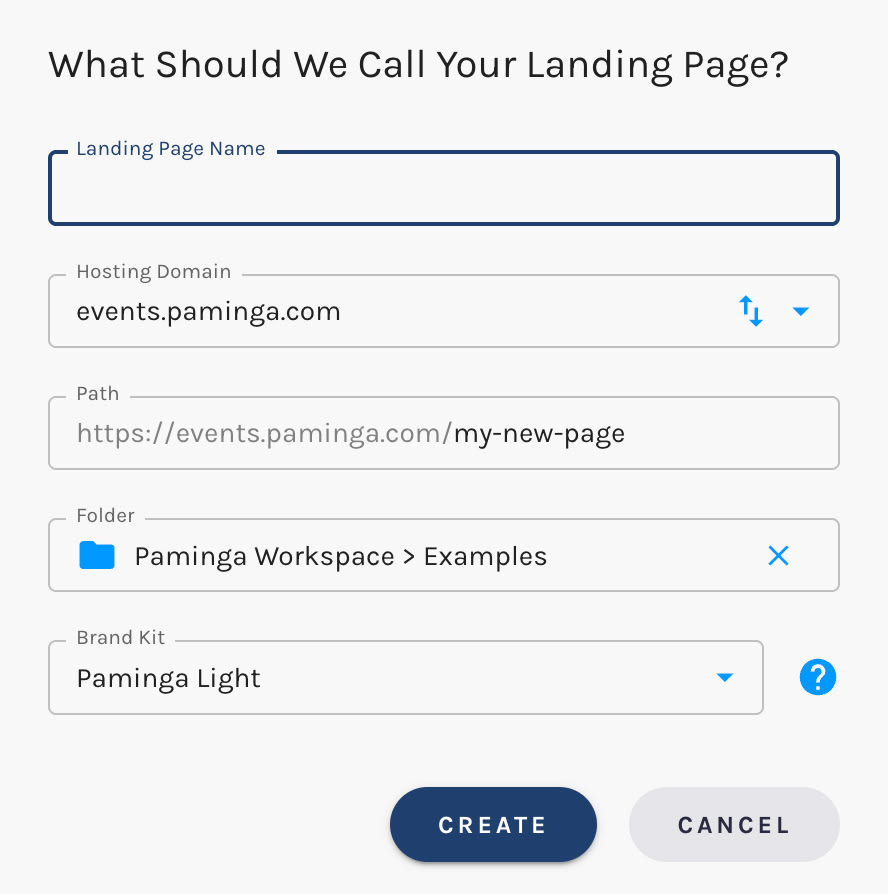
You'll be asked to provide:
- Name: An internal name for the page. This also drives the URL slug for your published page, so make it readable.
- SEO Description (meta description): Populates the
<meta name="description">tag on your published page. Search engines often display this as the snippet under your page title in search results. Optional, but worth filling in for any page you intend to rank. - Landing Page Domain: Choose which of your landing page subdomains this page should be published under.
You can change all of these later from Page Settings.
Choose a Brand Kit
Paminga's Brand Kits ensure your marketing assets — Forms, CTAs, Emails, and Landing Pages — are always on-brand.
Your default Brand Kit will be pre-selected if you have one. Pick the brand kit you want to use.
You may switch brand kits at any time, so don't be afraid of commitment. 🙂
Default Page Template
Click "Create Landing Page" and you'll be dropped into the builder with a starter layout. From here, you'll add Sections, Rows, and Elements to build out your page.
We will be adding templates for various landing page types in the coming months.
Next Steps
- Control Your Page's Layout
- Style Your Landing Page
- Configure Page Settings (SEO, favicon, custom CSS, custom scripts)
- Publish Your Page